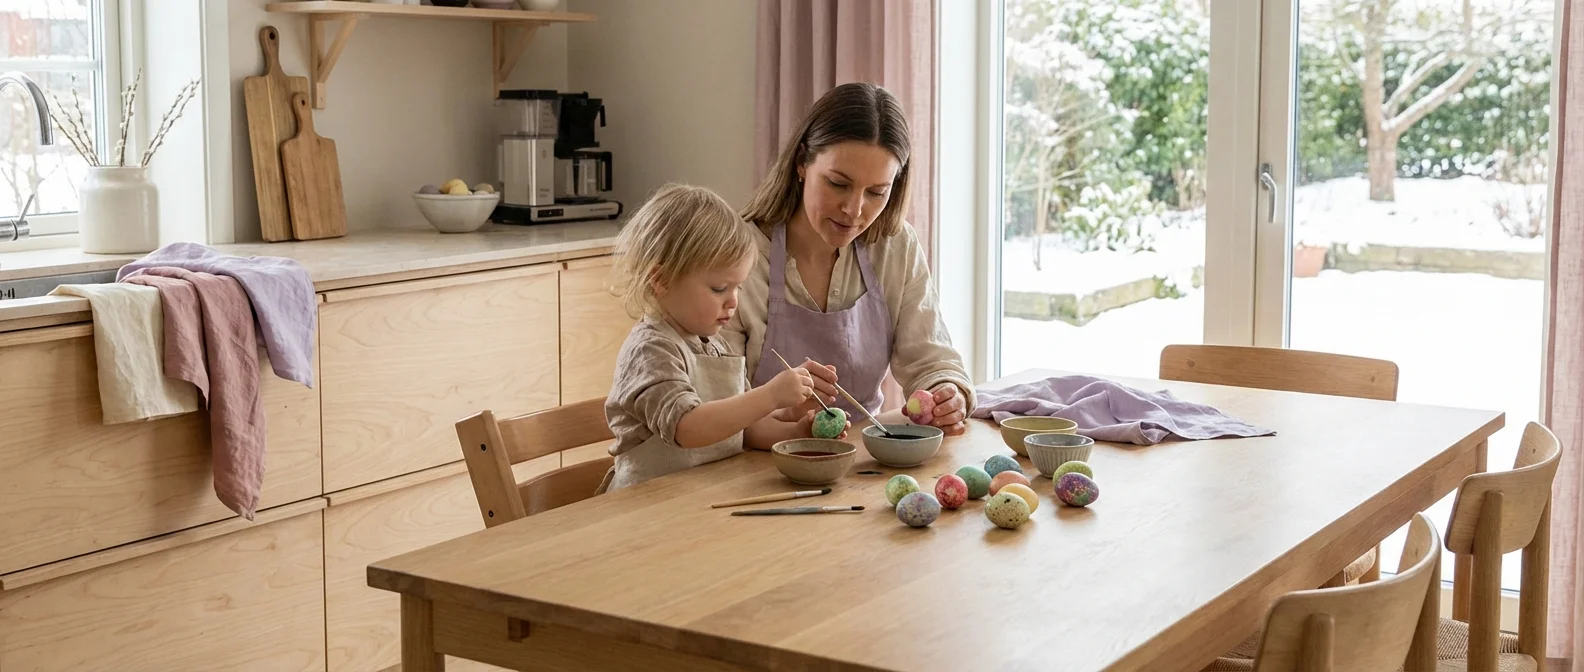
Painting Easter eggs together is one of those activities that works at almost every age — even if the result looks more abstract than expected. The key is adjusting your technique to your child's age and motor skills, and not worrying too much about the outcome.
Here's everything you need to know about natural dyes, age-appropriate techniques, and keeping the chaos manageable.
Natural Dyes — Colors from Your Kitchen
Natural dyes are safe, non-toxic, and often give more beautiful results than store-bought food coloring. Most of the ingredients are things you already have at home.
How to make natural dye:
- Boil the ingredient in water for 20–30 minutes
- Strain out the solids
- Add 2 tablespoons of white vinegar per cup of liquid (vinegar helps the color adhere)
- Let cool before using
Color Guide
Golden/brown. Onion skins Yellow or brown onion skins give a beautiful golden-brown color. Collect the dry outer skins (you'll need quite a few) and boil them in water. This is one of the easiest and most reliable natural dyes.
Pink/red. Beetroot Fresh or canned beetroot gives a gorgeous pink to deep red color. Boil chopped beetroot in water, or use the liquid from canned beets directly. The color is intense and stains easily, put on an apron.
Yellow. Turmeric Turmeric powder gives a bright, saturated yellow. Use 1–2 tablespoons per cup of water. Note: turmeric stains clothes and surfaces persistently, so cover the table well.
Blue/purple. Red cabbage This one surprises most people. Boiled red cabbage gives a blue to purple dye. The result varies depending on the pH of your water, you might get anything from turquoise to lilac.
Purple. Blueberries Boiled blueberries (fresh or frozen) give a soft purple to gray-blue color. Beautiful and smells nice too.
Green. Spinach Spinach gives a muted, natural green. It won't be neon, but has a lovely organic quality. Boil a large amount of spinach to get a strong enough color.
Let the eggs soak in the dye for several hours, or overnight in the refrigerator, for the most intense color. The longer they soak, the deeper the hue.
Techniques by Age
6–12 Months: Sensory Experience
At this age, the process is everything. Babies this young don't paint in any traditional sense, but they can explore texture, color, and materials in a supervised setting.
What works:
- Place a hard-boiled egg in a zip-lock bag with a small amount of non-toxic washable paint. Let your baby squeeze and explore the bag safely, the egg gets a marbled pattern
- Dip an egg in natural dye and let your baby touch it with fingertips while you hold it
- Roll an egg across a tray with paint on it, hold baby's hands over yours
Important: Everything goes in the mouth at this age. Use only natural dyes or food-safe paint. Supervise at all times.
1–2 Years: Finger Painting
Toddlers at this age love using their whole hands. Fine motor control is still developing, so finger painting is ideal.
What works:
- Dab non-toxic finger paint directly onto hard-boiled eggs
- Dip fingertips in different colors and press onto the egg
- Roll an egg in a shallow tray of paint
- Use a sponge for dabbing effects
Tips:
- Use a muffin tin to hold eggs while painting, they won't roll away
- Put the egg in an egg cup or small cup so your toddler can hold it steady
- Expect hands, the table, and possibly the wall to be involved
2–3 Years: Watercolors and Simple Techniques
At this age, many children can manage a brush with some guidance. Watercolors work well on eggs and give soft, beautiful results.
What works:
- Watercolors with a thick brush, simple and controllable
- Sponge stamps in different shapes
- Dot art with cotton swabs
- Stickers applied before dyeing, then removed to reveal patterns
Introduce simple concepts:
- "Let's mix yellow and blue, what color do we get?"
- "Can you make dots all the way around the egg?"
- Counting dots or stripes while painting
Prep and Cleanup
A little preparation makes the whole experience much more enjoyable, for you.
Before you start:
- Cover the table with newspaper, a silicone mat, or a plastic tablecloth
- Put on an apron or old clothes, especially with turmeric and beetroot
- Have paper towels and a damp cloth ready
- Set up drying space: a wire rack, egg carton, or strips of tape across a box
Hard-boiled vs. blown eggs:
- Hard-boiled are easier with young children, they don't crack as easily and there's no pressure to be gentle
- Blown eggs last longer as decorations but require more careful handling. Blow out raw eggs by piercing both ends with a needle and blowing through one hole
Drying:
- After dyeing, set eggs on a wire rack to dry
- Use an old egg carton turned upside down, the small bumps hold eggs without smearing
Extra Techniques
Wax Resist
Draw patterns on the egg with a white crayon or a candle stub before dyeing. The wax repels the dye and your pattern shows through in white or light color. Simple shapes like stars, hearts, or dots work especially well, even toddlers can scribble patterns that turn out beautifully.
Rubber Band Stripes
Wrap rubber bands around the egg before dipping in dye. Where the rubber band sits, the egg stays undyed, creating clean stripes. Use multiple rubber bands at different angles for a geometric pattern.
Leaf Prints
Press a small leaf (parsley, fern, or any interesting shape) against the egg, then wrap it tightly in nylon stocking or cheesecloth. Dip in dye. When you unwrap it, the leaf print appears as a lighter shape against the dyed background.
Masking Tape Designs
Apply strips of masking tape in patterns before dyeing. Geometric lines, triangles, or letters can be made this way. Remove the tape after the egg dries to reveal crisp shapes.
Glitter
While the egg is still slightly damp after dyeing, sprinkle on fine glitter. Shake off the excess once dry. Add a thin coat of school glue first for better adhesion. This is a big hit with toddlers.
If you want to eat the eggs afterward, use only food-safe coloring and natural dyes. Eggs with synthetic craft paint or glitter are decorative only and should not be eaten. According to FDA food safety guidelines, hard-boiled eggs left unrefrigerated for more than 2 hours should be discarded.
Storage and Display
Storing dyed eggs:
- Hard-boiled eggs should be refrigerated if you plan to eat them, consume within one week
- Keep them in the egg carton to protect the surface
- Decorative blown eggs can be stored in a box with tissue paper
Displaying Easter eggs:
- Fill a glass bowl or basket with eggs for a simple centerpiece
- Hang blown eggs from a branch (birch or fruit tree branches work beautifully) using thread or thin ribbon, an Easter tree
- Arrange eggs in a nest of natural raffia or moss
- Place eggs in small terracotta pots with soil and a few cut flowers
Making It a Tradition
Some of the best childhood memories are built around simple, repeated rituals. Easter egg painting doesn't need to be elaborate, it's the doing it together that matters.
Keep it low-key. Put on some music, make hot chocolate, let things get a little messy. Your child won't remember whether the eggs were perfectly symmetrical. They'll remember the afternoon at the kitchen table with paint on their nose.
Happy Easter.
Sources
- AAP — Infant and toddler nutrition guidelines
- WHO — Global infant feeding recommendations
- CDC — Infant and toddler nutrition resources
🔧 Helpful Tools
- All Baby Tools — Browse all free tools for pregnancy and baby care
📖 Related Articles
- Painting Easter Eggs with Kids: Natural Dyes and Fun Techniques — How to paint Easter eggs with babies and toddlers. Natural dyes from onion skins, beets, and turmeric — safe techniques for all ages.
- Easter With Kids: The Complete Guide for Families — Everything you need for Easter with baby and toddlers — activities, egg hunts, decorations, food, scavenger hunts, packing lists, and tips for home and away.
- Easter Egg Hunt with Kids: How to Set Up the Perfect Hunt — Complete guide to Easter egg hunts for children aged 1–3. Indoors, outdoors, at the cabin — with tips on hiding spots, clues, and age-appropriate difficulty.