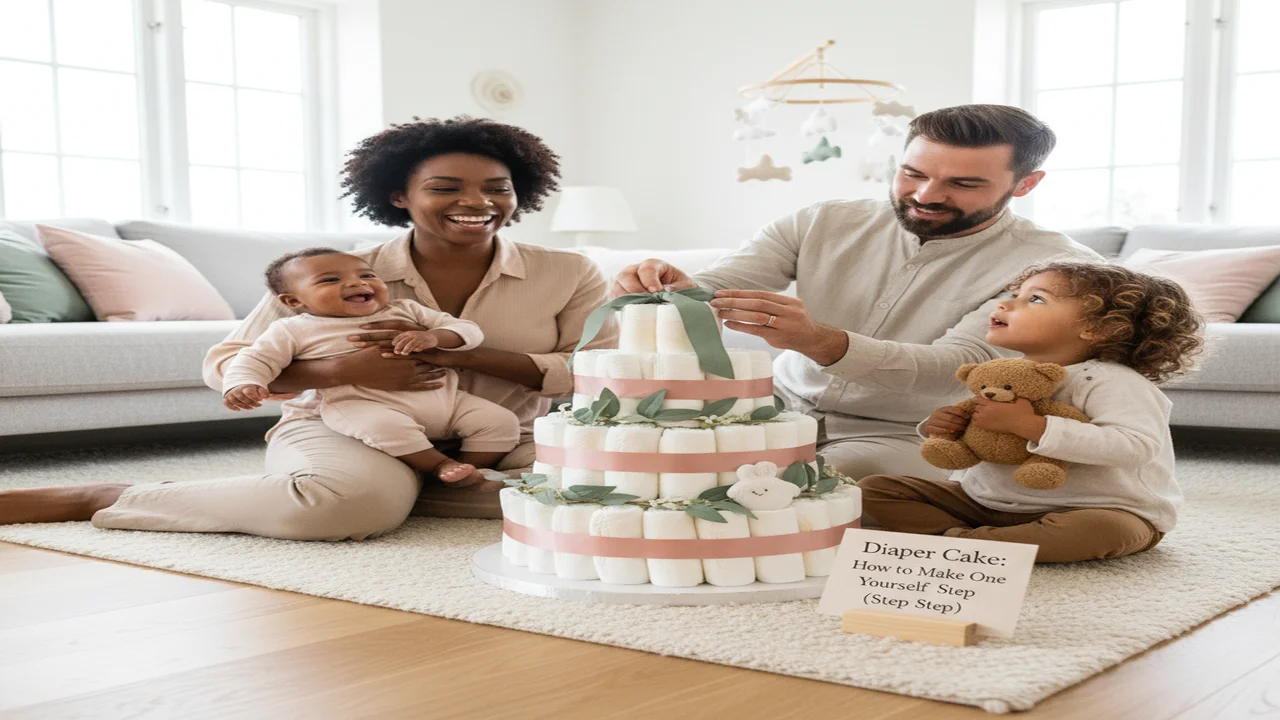
A diaper cake is the perfect baby shower gift: it looks impressive, is surprisingly simple to make, and contains diapers that parents actually need.
Here is a complete step-by-step guide, with a materials list and creative design ideas.
What is a diaper cake?
A diaper cake is a "cake" built from rolled diapers, arranged in tiers and decorated with ribbon, flowers and small baby items. It works both as a decoration and as a practical gift.
The result looks professional, but requires zero baking skills — just a little patience and creativity!
Materials you need
Here is a complete shopping list:
Diapers
- 50–60 diapers (size 2 or 3 recommended — newborn size is outgrown very quickly)
- White or light-colored diapers give the cleanest result
- Pampers and Huggies have neat, neutral designs
Equipment
- 51 small rubber bands (one per diaper + one for the top tier)
- 2 large rubber bands (for the two lower tiers)
- 1 cardboard tube from a kitchen roll or gift wrap (center column)
- 1 cake board or flat plate (approx. 30 cm / 12 inches diameter)
- Hot glue gun with glue sticks
- Scissors
Decoration
- Wide ribbon in theme colors (2–3 meters)
- Flowers (artificial or dried)
- Cake topper (small teddy bear, shoes, pacifier or similar)
- Optional: Baby clothes, pacifiers, teething toys that can be attached
Budget tip: All the supplies (except the diapers) can be found affordably at dollar stores or craft stores. An impressive diaper cake does not need to be expensive!
Step-by-step: Make your own diaper cake
Step 1: Roll the diapers
Take one diaper and roll it tightly from the open side toward the bottom. Secure with a small rubber band.
Tip: Roll from the open end so that the smooth bottom of the diaper faces outward. This gives a neater result.
Repeat for all 50 diapers. Put on a podcast or show, this takes about 20–30 minutes.
Step 2: Build the bottom tier
- Glue or tape the cardboard tube to the center of the cake board
- Place 5–6 rolled diapers around the cardboard tube
- Slip a large rubber band around the whole group
- Continue adding diapers inside the rubber band until the bottom tier is full
- You need approximately 30 diapers for the bottom tier
The diapers should stand tightly and support each other. The rubber band holds everything in place.
Step 3: Build the middle tier
- Place rolled diapers on top of the bottom tier, around the cardboard tube
- Use the second large rubber band
- This tier is smaller, use approximately 15 diapers
- Check that the tier is centered
Step 4: Build the top tier
- Use the remaining 5–6 diapers
- Secure with a regular rubber band
- Push the cardboard tube down so it does not stick up above the diapers
- Optional: Place an extra diaper in the center to fill the gap
Step 5: Decorate with ribbon
This is where you hide the rubber bands and make the cake beautiful:
- Cut ribbon to the right length for each tier
- Glue the ribbon ends together with hot glue at the back
- Attach the ribbon around each tier so it covers the rubber band
- Make a bow on the middle tier for extra decoration
Important: Glue the ribbon only to itself, NOT to the diapers. The parents will use them!
Step 6: Add decorations and cake topper
Now comes the fun part:
- Place a cake topper (teddy bear, baby socks, flowers) on the top
- Drape flowers or greenery down the sides
- Attach small items like pacifiers or teething toys with ribbon
- Tuck small baby clothes between the tiers
Creative diaper cake designs
Classic elegant
- White diapers + satin ribbon in gold or silver
- White flowers and greenery
- Pearl or crystal details
- Suits: All occasions
Forest animals
- Neutral diapers + green jute ribbon
- Small animal figures (fox, bear, rabbit)
- Dried flowers and greenery
- Suits: Gender-neutral theme
Pink princess
- Pink ribbon and bows
- Pink flowers and pearls
- Small tiara on top
- Suits: Girl theme
Motorcycle diaper cake
Instead of tiers, shape the diapers like a motorcycle:
- Two "wheels" of rolled diapers (bound with rubber bands)
- Rolled washcloths as handlebars
- A baby bottle as the "exhaust pipe"
- A pair of baby socks on the handlebars
Castle diaper cake
Build four "towers" of diapers around a central "cake":
- Central cake as usual (2 tiers)
- Four small diaper towers at the corners
- Paper flags on top of each tower
- Ribbon around the whole construction
Practical extra gifts inside the cake
Make the diaper cake even more useful by hiding small items between the tiers:
- Pacifiers (BIBS are very popular)
- Silicone teething toys
- Baby lotion or baby oil
- Small baby socks rolled into "roses"
- Washcloths or muslin cloths
- Baby comb and brush
- Mini care products
Tucking practical items, small toiletries, muslin cloths, socks, between the tiers makes the cake even more useful for parents beyond just the diapers.
Transporting the diaper cake
The diaper cake can be a little unstable. Here is how to transport it safely:
- Cellophane wrap: Wrap the whole cake in clear cellophane and tie at the top
- Box: Place the cake in a large box with a lid
- Flat surface: Place the cake on a flat surface in the car
- Drive carefully: Avoid sharp turns!
Frequently asked questions
How many diapers do I need for a diaper cake?
For a standard three-tier diaper cake you need approximately 50 diapers. A small two-tier cake uses 25–30 diapers, while an extra large cake can use 60–100 diapers.
Which diaper size should I use?
Use size 2 or 3. Many new parents receive plenty of newborn diapers, so larger sizes are more useful. Larger diapers are also easier to work with.
How long does it take to make a diaper cake?
Allow approximately 1–2 hours in total. Rolling takes the longest (20–30 min). The actual construction takes 15–20 min, and the decorating 20–30 min.
Can I make a diaper cake without a hot glue gun?
Yes! You can use double-sided tape or safety pins instead. Rubber bands and ribbon hold most things in place.
Summary
A homemade diaper cake is a creative, personal and practical gift that will definitely be remembered. With this guide, anyone can make an impressive diaper cake, all you need is diapers, rubber bands, ribbon and a little patience.
Planning a baby shower? Check our baby shower gift guide for more inspiration.
Read more
Sources
- AAP — Infant and toddler nutrition guidelines
- WHO — Global infant feeding recommendations
- CDC — Infant and toddler nutrition resources
🔧 Helpful Tools
- All Baby Tools — Browse all free tools for pregnancy and baby care
📖 Related Articles
- Easter Gifts for Kids - Creative and Fun Gift Ideas — Find the perfect Easter gift for children! From Easter eggs with surprises to creative activities for the whole family.